Introduction
This is a post on a subject I’m usually not addressing on my blog, but I think having a lab is crucial and super important for any IT pro. A lab for testing and screwing up before screwing up in production is key!
In my example, I’m running a lab in a private and isolated network, but I’m still very interested in providing Internet access for the servers and workstations running inside the lab. This is how to do just that, using the routing feature within Windows Server 2016. (I’m aware that Hyper-V in Server 2016/Windows 10 has a new NAT feature which can do this too, where a router is preferred in a more complex lab with several networks).
Configuration
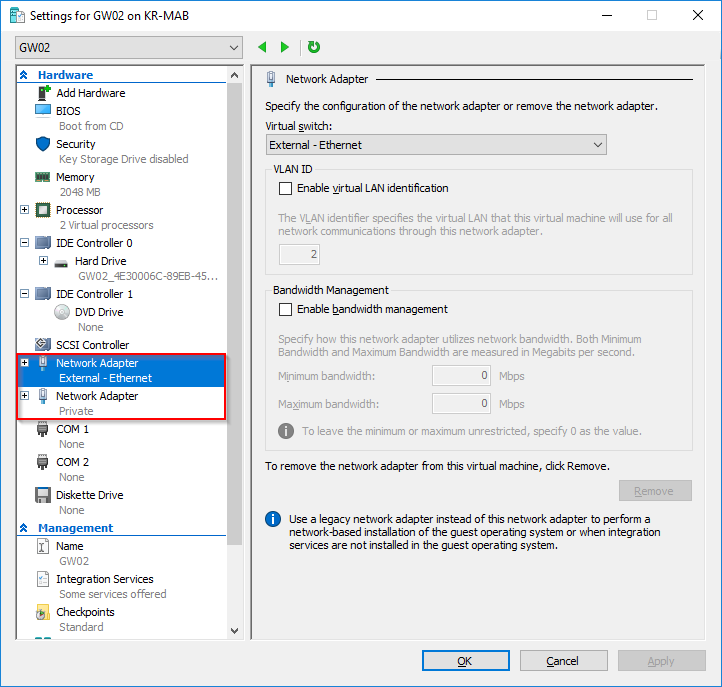
- First off, we obviously need a machine in Hyper-V running Windows Server 2016 (In this case my GW02). This virtual machine needs to be configured with 2 network adapters; 1 for the private network and 1 for the external network (where the Internet is available). I assume the Hyper-V switches are created already. If not, you should create those first directly in the Hyper-V Manager in the Action pane: Virtual Switch Manager. Create a switch for the private network and another for the external network.
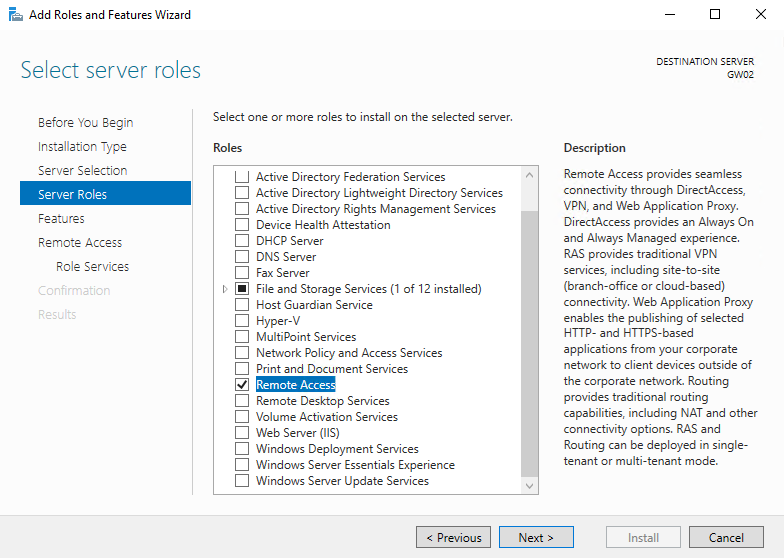
- Secondly, we need to add the required roles and features to the Windows Server 2016 acting as the router (this is still my GW02). In the Server Manager, click Add Roles and Features and add Remote Access as shown below:
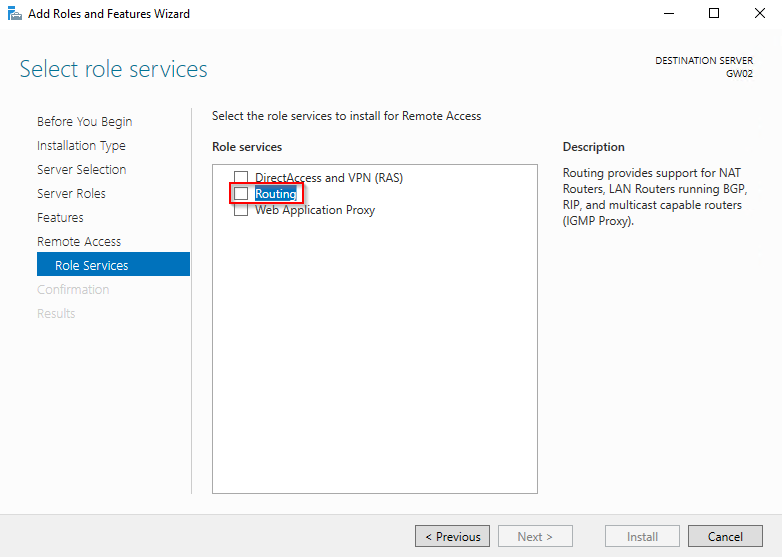
- Select the Routing role service and accept all the defaults following this selection (including accepting additional stuff like IIS etc.).
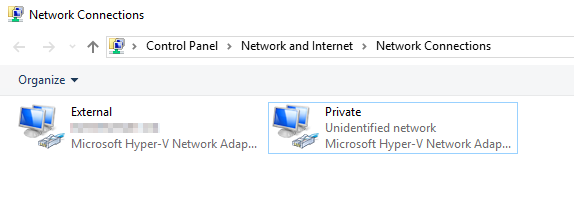
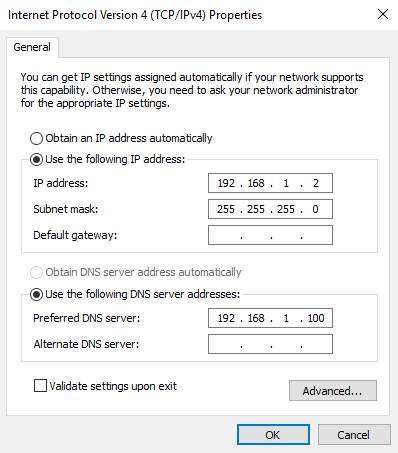
- Next up is time to configure the two network adapters. For good measures, I’ve also renamed them to something more recognizable. The external facing NIC is configured with DHCP, the Private NIC is configured with 192.168.1.2/24. 192.168.1.100 is my DC and DNS. This can be configured to whatever you prefer and what suits your own lab.
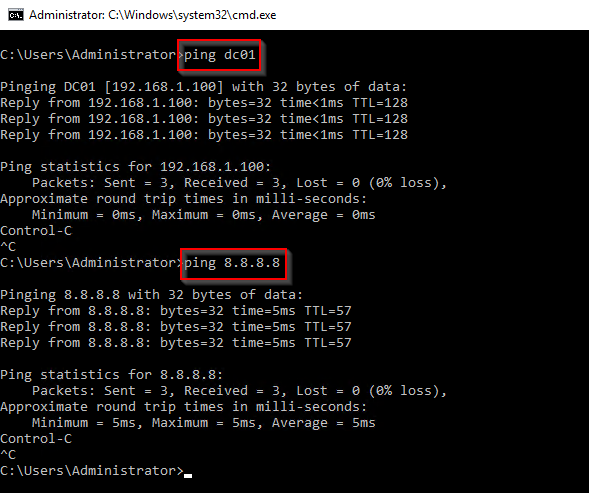
- Confirming that GW02 can communicate with both the Internet and the private network.
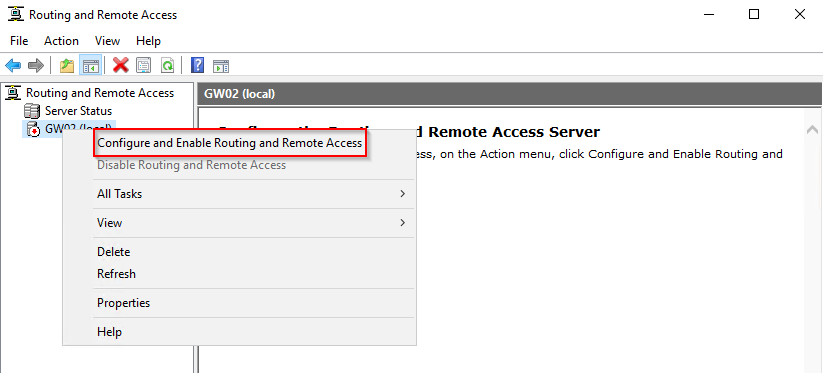
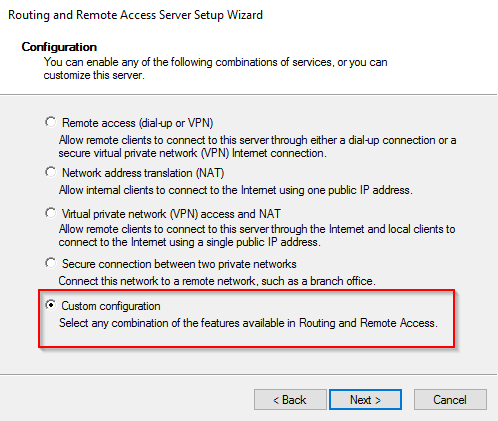
- Configure the router through Server Manager > Tools > Routing and Remote Access and follow below snippets.
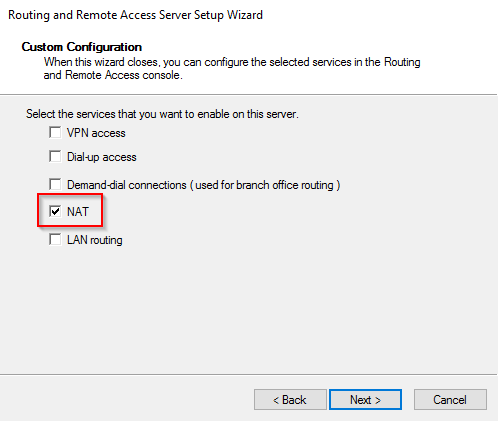
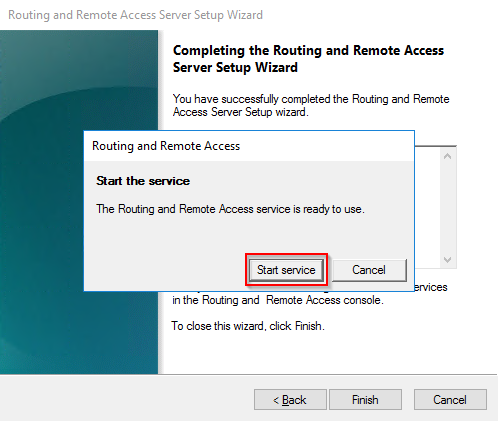
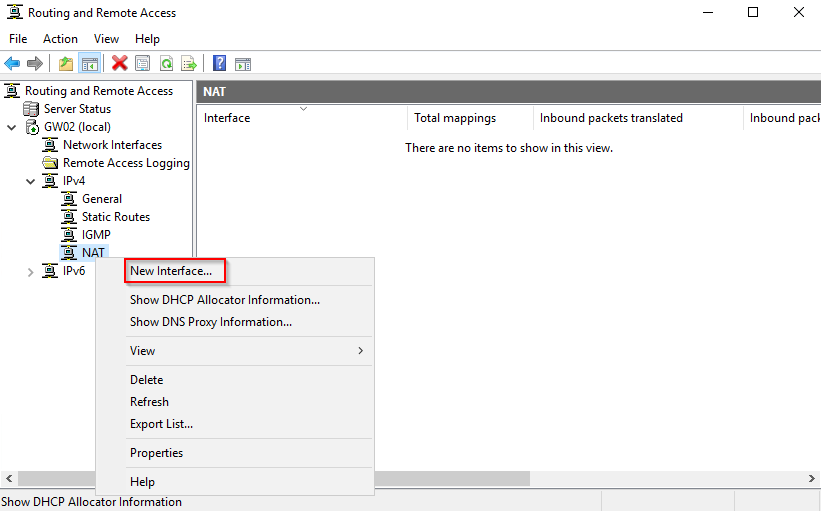
- Expand the IPv4 node and right click on NAT and select New Interface.
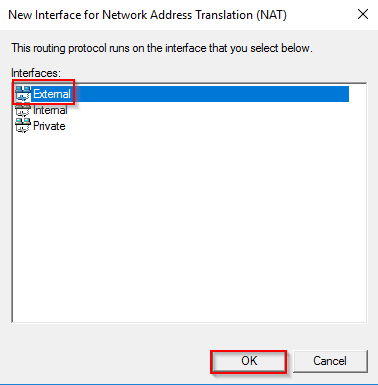
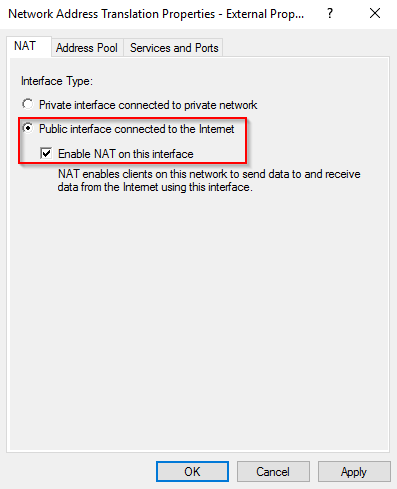
- First off, select External and click OK.
- Make sure that Public interface connected to the Internet is selected as well as Enable NAT on this interface.
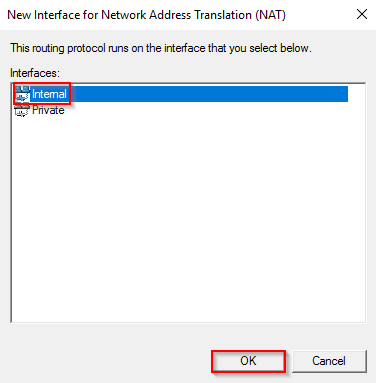
- Repeat the process for Internal (Private) interface.
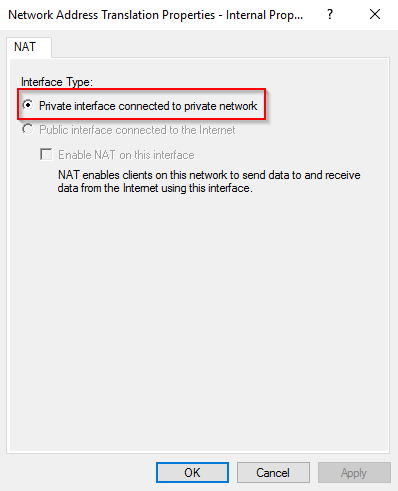
- And remember to select Private interface connected to private network.
Finally
That’s it. The router is configured. To confirm everything is working as expected, you can configure the default gateway on one or more of your machines in your private Hyper-V lab. In this example, the default gateway should be 192.168.1.2 and below example is my DC which only has a private NIC configured.
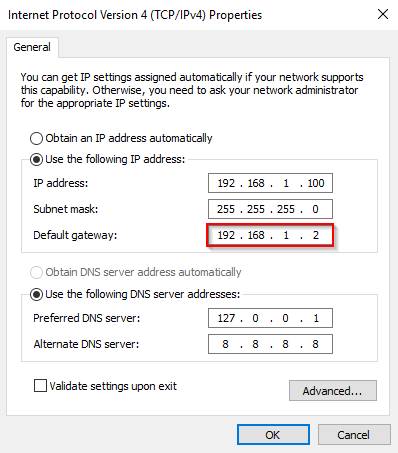
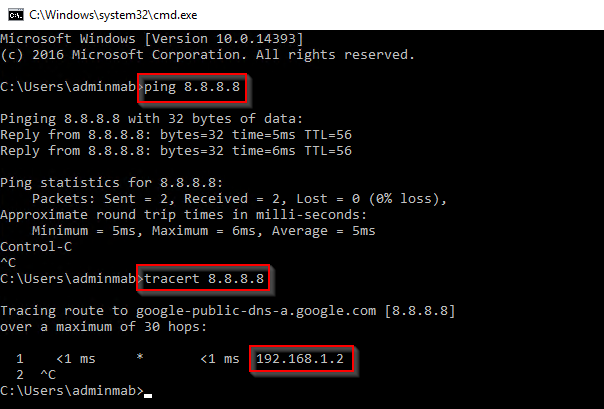
And again, confirming that my DC now has access to the Internet and that it happens through my newly configured router (GW02, 192.168.1.2).
Please leave a comment if this was helpful – thank you 🙂
Hi
Why would you not just use the Integrated NAT switch functionality?
https://www.thomasmaurer.ch/2016/05/set-up-a-hyper-v-virtual-switch-using-a-nat-network/
Hi Thomas, I mention that in the very beginning. I’m aware of the feature (I’ve read your blog post prior to this) 🙂
Thanks though.
I really enjoyed this post, it helped me set up my new lab environment on Hyper-V to compare with my vCenter/ESXi test environment. Thanks for the help.
Thank you! 🙂
Is there a way to configure RRAS and NAT Routing all through Powershell? If so, how so?
Thanks.
Install-WindowsFeature DirectAccess-VPN -includeManagementTools -Restart
Install-WindowsFeature Routing -includeManagementTools -Restart
Install-WindowsFeature DirectAccess-VPN -includeManagementTools -Restart
Install-WindowsFeature Routing -includeManagementTools -Restart