Introduction
As promised, I’m continuing my Windows 11 journey, this time giving you a small nugget on how to escrow BitLocker recovery keys to Azure AD during a Windows 11 Feature Update.
In my specific scenario, the recovery keys has so far been stored in on-premises AD. For Windows 11, we change that, and store them in Azure AD instead.
For your convenience, find links to my previous Windows 11 posts here:
- Customize your Windows 11 taskbar during OSD with ConfigMgr using just PowerShell
- Monitor your Windows 11 Feature Updates with Custom Action Scripts and notifications sent to Microsoft Teams
- Remove built-in Teams app and Chat Icon in Windows 11 during a Feature Update via SetupConfig.ini and SetupComplete.cmd
Preliminary details
To keep it short and sweet for now, this post assumes you know a little something on the SetupConfig.ini file as well as the custom action script SetupComplete.cmd.
If not, there are some reading to do in the links down below. I will elaborate greatly on these topics in a near future, covering my entire Windows 11 WaaS process, but for now you’re better off knowing something already.
- Windows Setup Automation Overview | Microsoft Docs
- Run custom actions during a feature update | Microsoft Docs
PowerShell
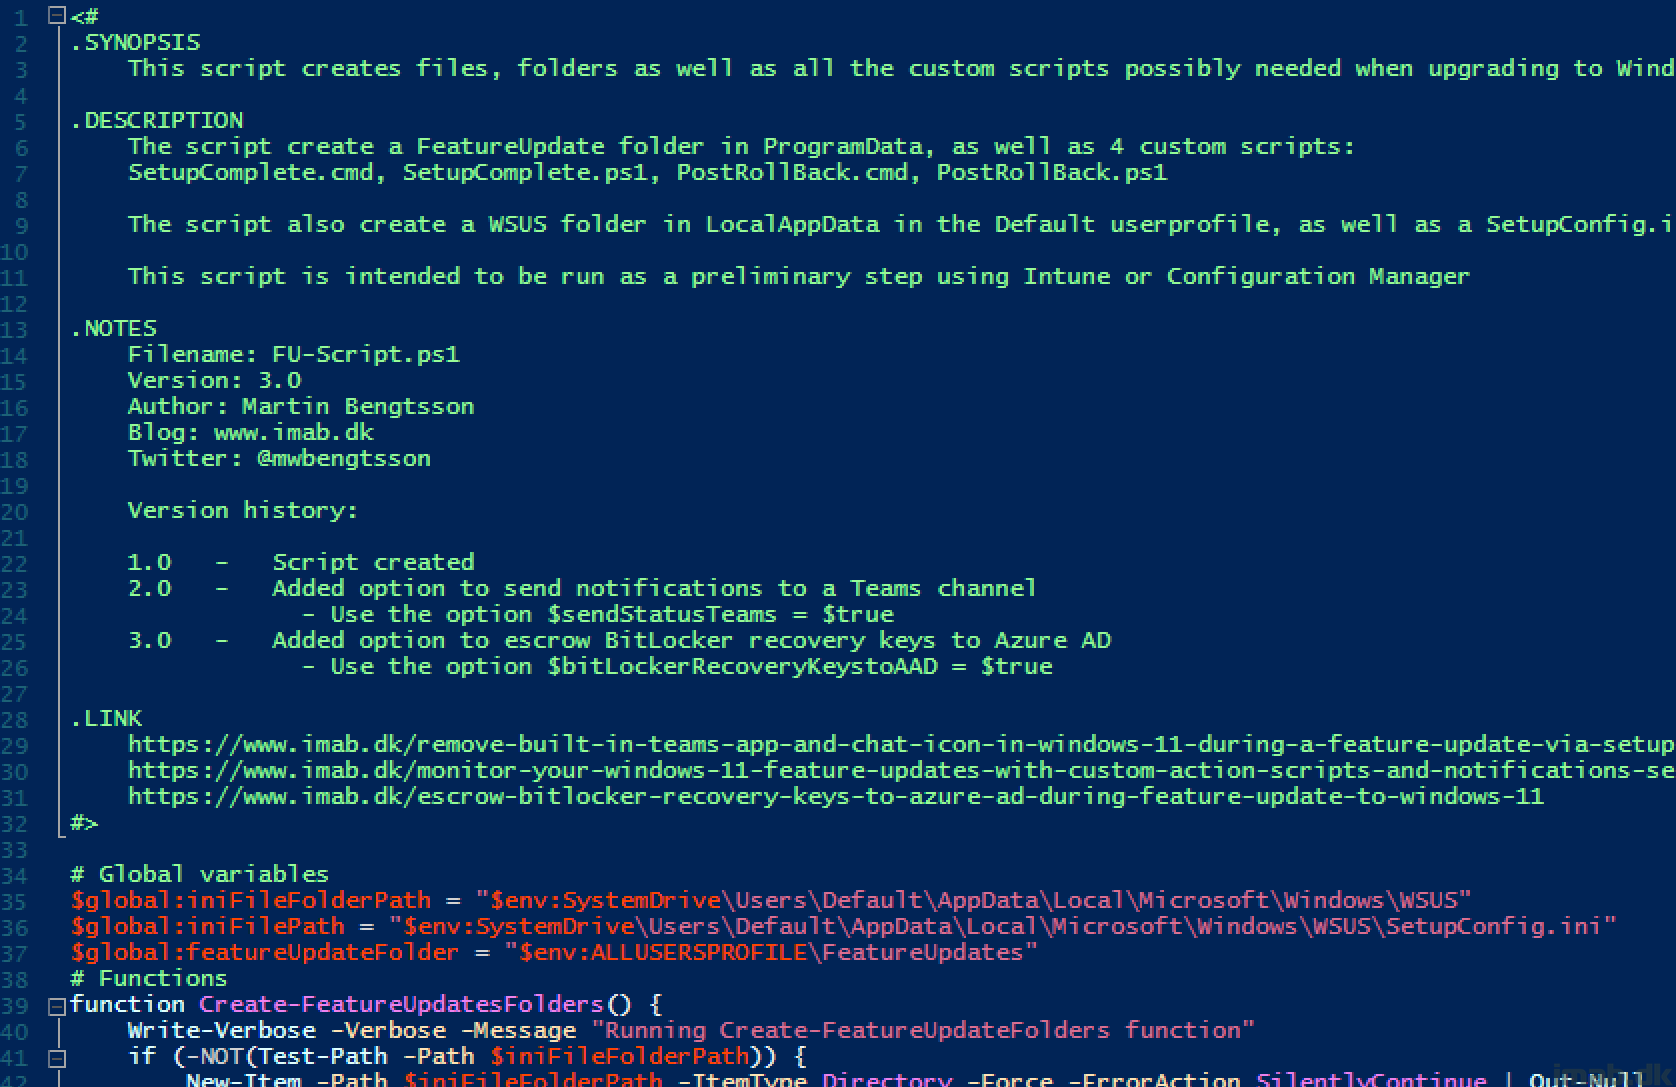
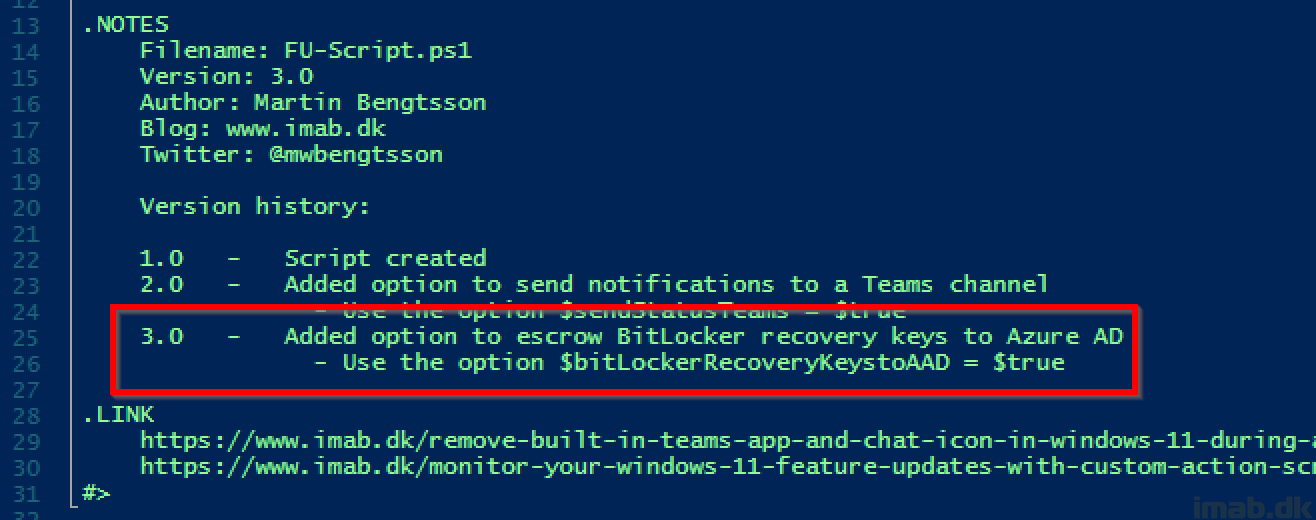
I’ve extended the script (FU-Script.ps1) I created back in January, with the ability to escrow recovery keys to Azure AD.
FU-Script3.0.ps1
The script still creates the SetupConfig.ini file, as well as any of the custom actions scripts used: SetupComplete.cmd as well as PostRollBack.cmd (in this scenario, only SetupComplete.cmd/.ps1 is used).
The script is located here on my GitHub repository: Windows-11/FU-Script3.0.ps1 at main · imabdk/Windows-11 (github.com)
- NOTE: I bumped the version to 3.0, but in a separate file to keep the history of my previous posts.
The script still does all the things that the previous posts described, so I’m not covering those in details again. Read these for complete details:
- Monitor your Windows 11 Feature Updates with Custom Action Scripts and notifications sent to Microsoft Teams
- Remove built-in Teams app and Chat Icon in Windows 11 during a Feature Update via SetupConfig.ini and SetupComplete.cmd
SetupComplete.ps1
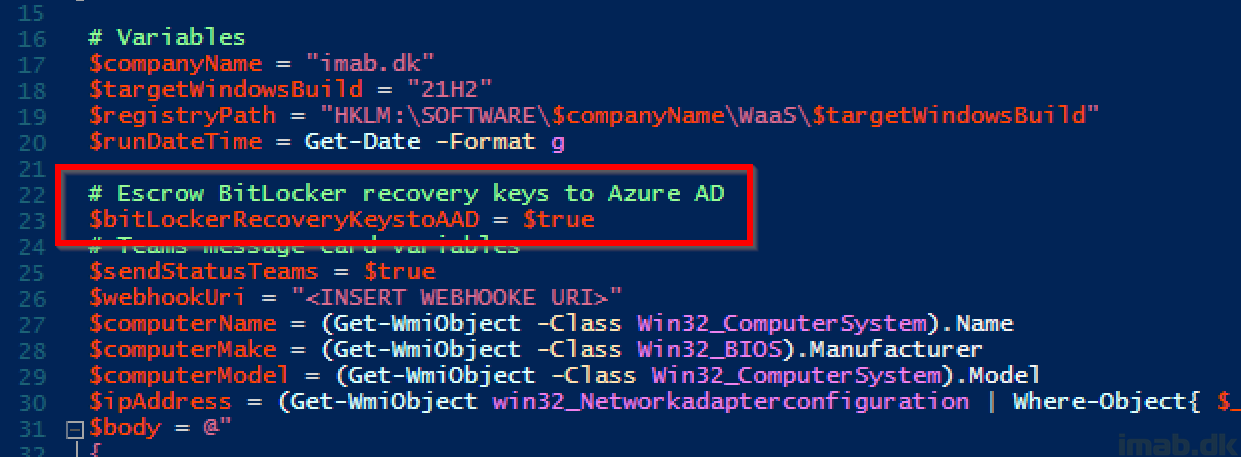
SetupComplete.ps1 now has a $bitLockerRecoveryKeystoAAD option.
- Configure $bitLockerRecoveryKeystoAAD to $false if you don’t want to escrow BitLocker recovery keys to Azure AD
- Configure $bitLockerRecoveryKeystoAAD to $true if you do want to escrow BitLocker recovery keys to Azure AD
The actual code for escrowing the BitLocker recovery keys to AAD is pretty simple. See below snippet.
- NOTE: If you have more than one drive encrypted with BitLocker, you will have to edit the script to accommodate that. The script currently only looks for BitLocker on the systemdrive.
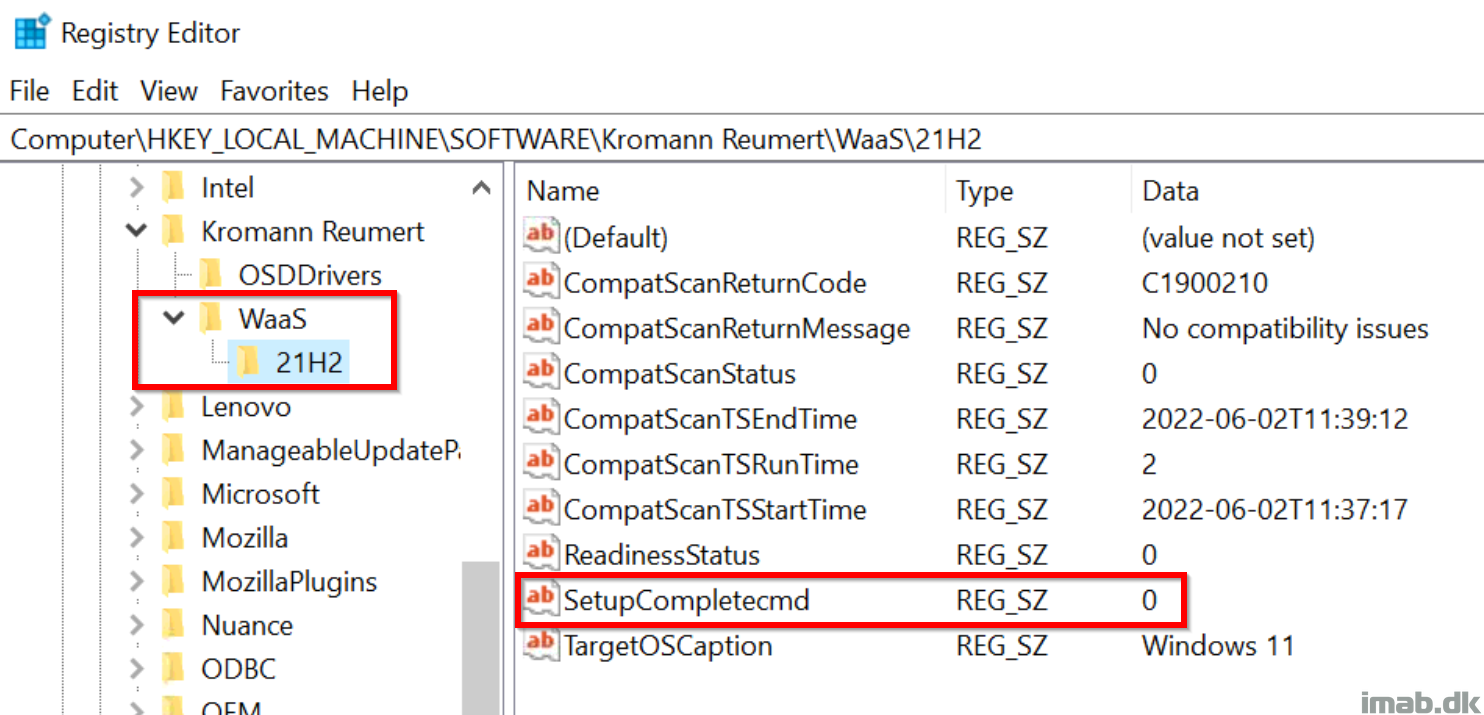
Once SetupComplete.cmd/.ps1 has run successfully, I’m tattooing the status into registry for inventory purposes with ConfigMgr (more on that in an upcoming post).
Results
Now, once upgraded to Windows 11 and the Setupcomplete.cmd/.ps1 has run successfully, you will find the BitLocker Recovery Key in Azure AD.
Below snippet is from browsing https://portal.azure.com -> Azure Active Directory -> Devices -> BitLocker keys (preview)
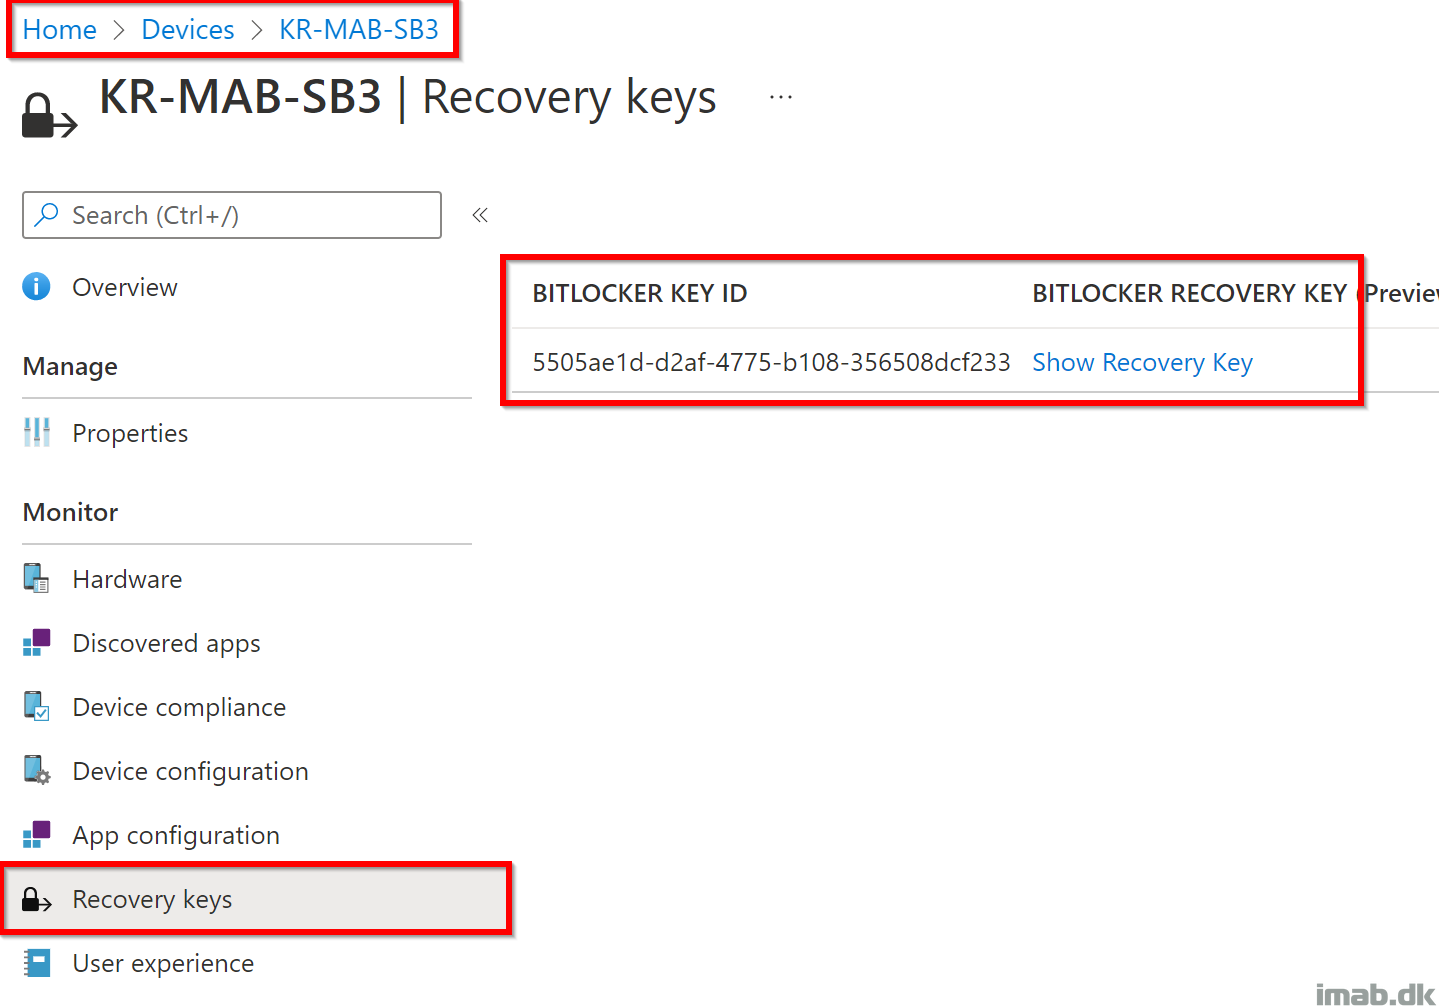
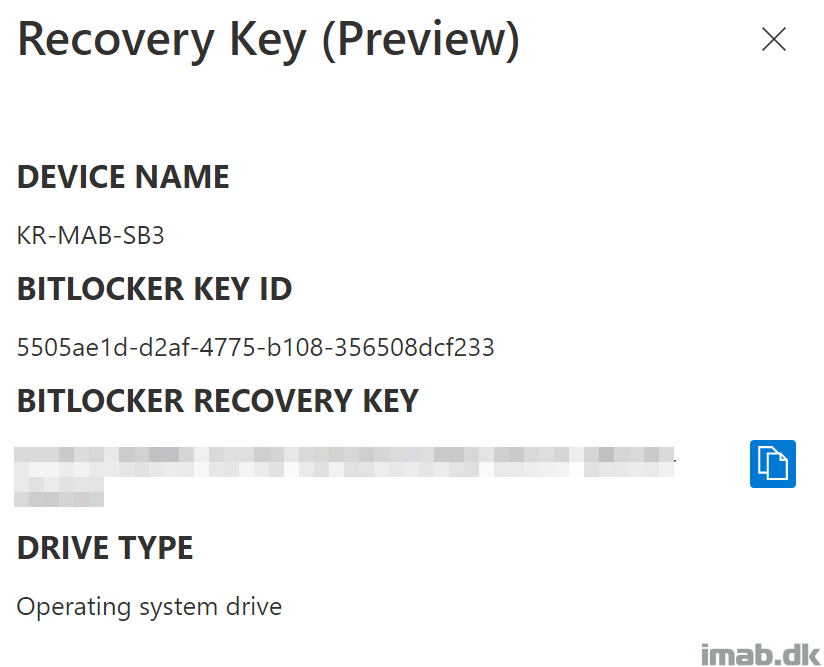
It’s also possible to browse the BitLocker recovery keys using Microsoft Endpoint Manager.
Below snippets are from browsing https://endpoint.microsoft.com -> Devices -> <Device in question> – Recovery keys
Finally, it’s also possible for the regular users, to browse https://myaccount.microsoft.com to find the BitLocker Recovery keys themselves. See below snippet:
- NOTE: This particular ressource (My Profile) can and should be protected by Conditional Access, requiring MFA or similar to grant access.
ENJOY 🙂



1 thought on “Escrow BitLocker recovery keys to Azure AD during Feature Update to Windows 11”